Fluffy Homemade Garlic Naan: Perfect for Curries and Gatherings
Imagine the irresistible aroma of freshly baked bread mingling with the pungent allure of garlic, wafting through your kitchen. That's the magic of homemade garlic naan bread. More than just a simple side dish, this soft, pillowy flatbread is a culinary staple that transforms any meal into a special occasion. Whether you're a seasoned chef or a kitchen novice, crafting your own garlic naan is a deeply rewarding experience that promises delicious results, perfect for scooping up rich curries, hearty stews, or simply enjoying on its own. Get ready to impress your family and friends with a bread that truly tastes like love.Why Embrace the Joy of Homemade Garlic Naan Bread?
There's a unique satisfaction that comes from creating something truly delicious from scratch, and homemade garlic naan bread delivers on every front. Forget store-bought versions; once you experience the tender chewiness and fresh flavor of your own creation, you'll never look back. Here’s why this recipe is an absolute game-changer:- Beginner-Friendly Brilliance: Despite its impressive restaurant-quality taste, making garlic naan at home is surprisingly straightforward. With a few basic ingredients and clear steps, even those new to baking can achieve fantastic results.
- Irresistible Flavor Fusion: The blend of aromatic minced garlic with rich, buttery dough creates a flavor profile that is utterly addictive. Each bite is a harmonious balance of savory, slightly sweet, and wonderfully buttery notes.
- Unparalleled Texture: Expect a naan that is incredibly soft, fluffy, and delightfully chewy – just like the best you’d find at your favorite Indian restaurant. The yeast works its magic, ensuring a perfect rise and those signature bubbles.
- Versatility at Its Best: While it’s the quintessential accompaniment to Indian and Middle Eastern dishes, homemade garlic naan bread is incredibly versatile. Use it as a base for mini pizzas, a wrap for leftovers, or simply tear and dip into your favorite hummus or raita.
- A Celebration of Togetherness: There's something inherently communal about sharing freshly baked naan. Its tear-and-share nature makes it ideal for family dinners and social gatherings, fostering connection around the table.
Many home cooks rave that this recipe is better than what they find at even the best Indian restaurants, and we guarantee you’ll find it hard to stop at just one! For a deep dive into achieving that perfect restaurant-quality result, explore our guide on Easy Homemade Garlic Naan: Better Than Restaurant Quality.
Gathering Your Essential Ingredients for Perfect Naan
The secret to truly exceptional homemade garlic naan bread lies in selecting quality ingredients and understanding their role. Here’s what you’ll need to create this culinary masterpiece, along with some insights into why each component is crucial:- 2 cups All-purpose flour: This forms the structural backbone of your naan, providing the classic texture. While all-purpose is standard, you can experiment with a small percentage of whole wheat flour for a nuttier flavor.
- ¾ cup Warm water (105-115°F / 40-46°C): The perfect temperature is vital for activating your yeast. Too hot, and you'll kill it; too cold, and it won't activate.
- 1 teaspoon Active dry yeast: The leavening agent responsible for those delightful bubbles and fluffy texture. Always ensure your yeast is fresh; old yeast can lead to dense, flat naan.
- 1 teaspoon Sugar: This isn't just for sweetness; it acts as food for the yeast, helping it to activate and multiply efficiently, which contributes to a better rise and flavor.
- 1 teaspoon Salt: Essential for balancing flavors and strengthening the gluten structure in the dough. Don't omit it, as it significantly enhances the naan's taste.
- ¼ cup Plain yogurt (full-fat recommended): This is a game-changer! Yogurt adds incredible richness, moisture, and tenderness to the dough, resulting in a distinctly soft and chewy naan that's far superior.
- 2 tablespoons Unsalted butter (melted): Incorporated into the dough, butter adds flavor and helps create a soft, pliable texture.
- 3 cloves Fresh garlic (minced finely): The star of our show! Freshly minced garlic provides that vibrant, aromatic punch that defines garlic naan. Adjust the quantity to your preference.
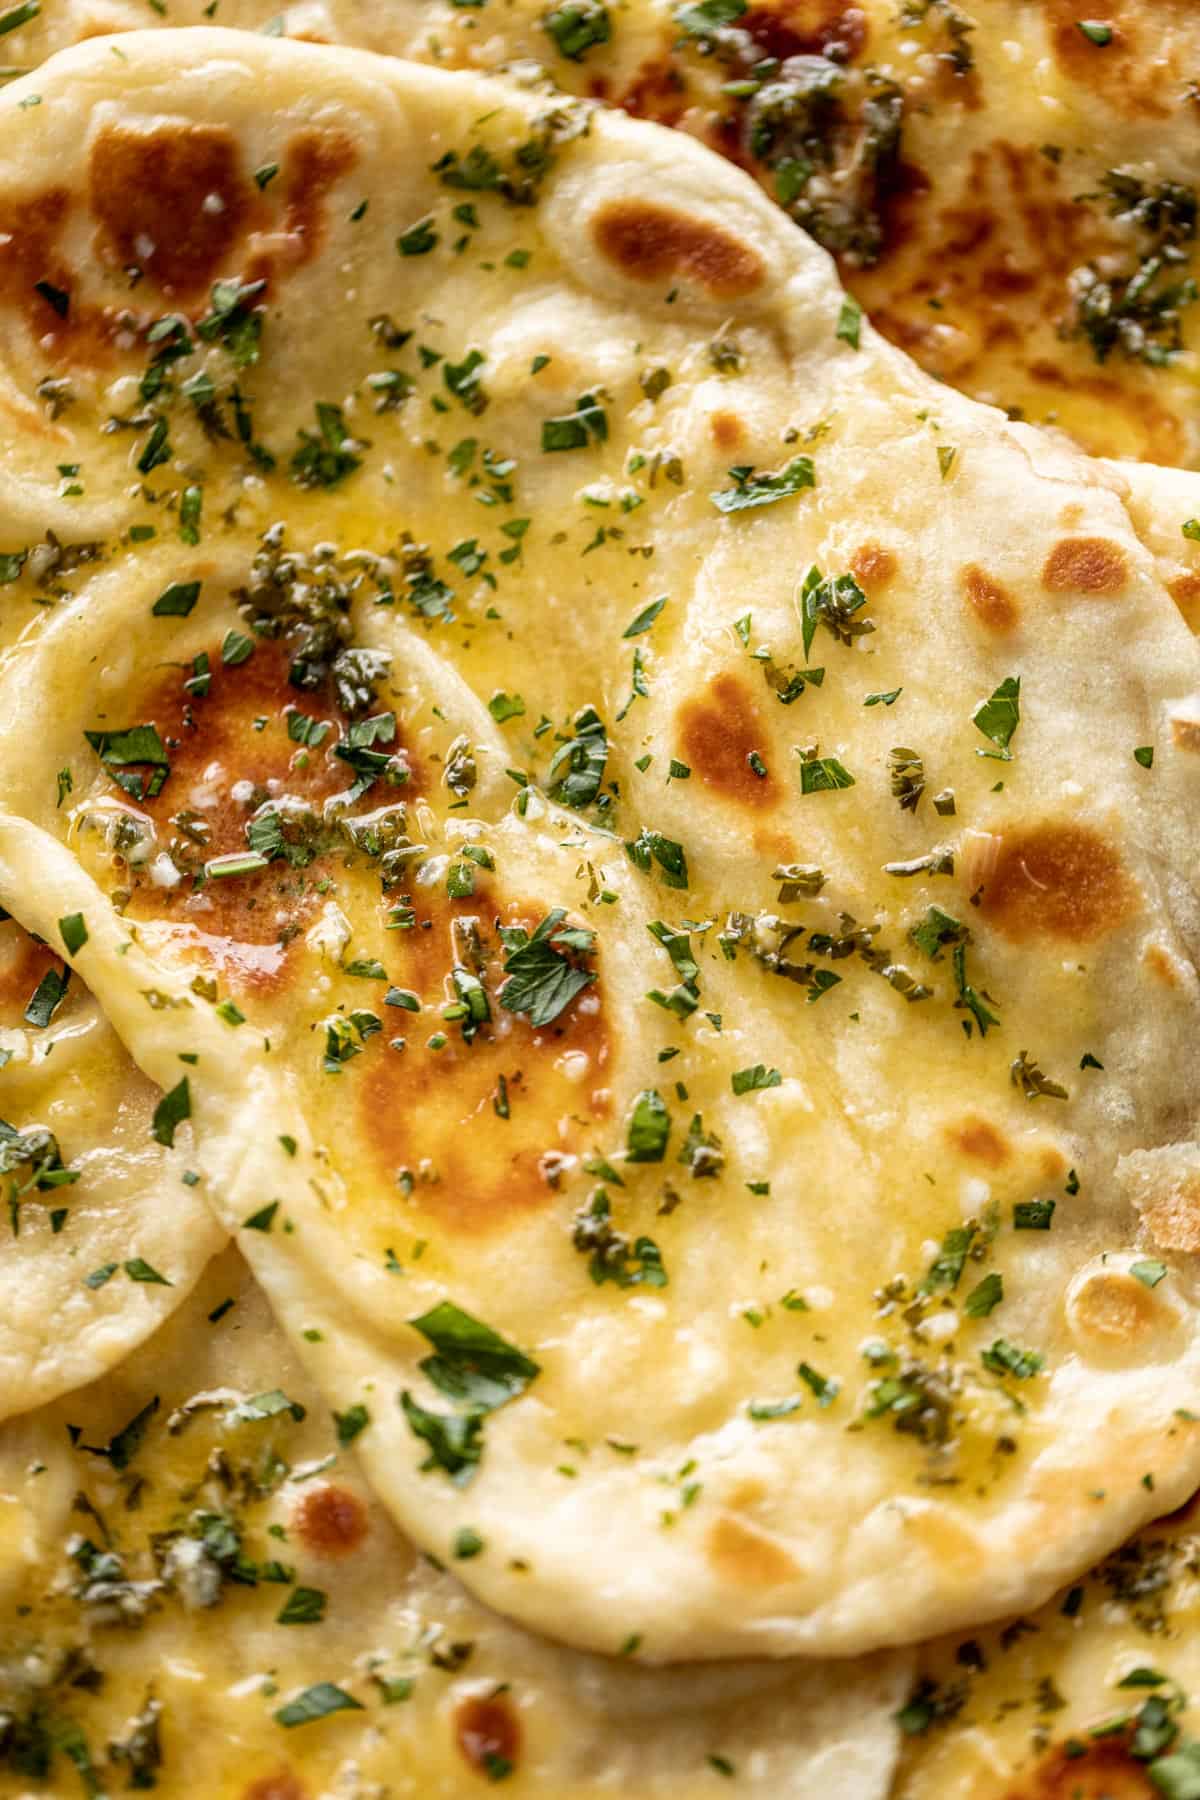
- 2 tablespoons Chopped fresh cilantro or parsley: Adds a beautiful pop of color and a fresh, herbaceous counterpoint to the rich garlic and butter. Cilantro is traditional, but parsley works wonderfully too if you're not a fan of cilantro.
- Extra melted butter (for brushing after cooking): Crucial for that glistening finish and to infuse even more garlic goodness into the warm naan.
Crafting Your Fluffy Garlic Naan: A Step-by-Step Guide
Now that you have all your ingredients ready, let’s roll up our sleeves and embark on the delightful journey of making your own homemade garlic naan bread. Follow these steps carefully for the best results:Step 1: Activate the Yeast
- In a small bowl, combine the warm water, sugar, and active dry yeast. Give it a gentle stir.
- Let this mixture sit for 5-10 minutes. You'll know your yeast is alive and well when it becomes frothy and bubbly on the surface. If it doesn't foam, your yeast might be old or the water temperature was off; it’s best to start again with fresh yeast.
Step 2: Prepare the Dough
- In a large mixing bowl, whisk together the all-purpose flour and salt until well combined. This ensures even distribution of salt.
- Create a "well" (a small depression) in the center of the flour mixture.
- Pour in the plain yogurt and 2 tablespoons of melted butter into the well.
- Carefully pour the activated yeast mixture into the well as well.
- Using a wooden spoon or your hands, gradually mix the wet ingredients into the dry, starting from the center and working your way outwards, until the dough starts to come together. It will be slightly sticky, but don't worry, that's normal.
Step 3: Knead the Dough
- Lightly flour a clean work surface. Turn the dough out onto the floured surface.
- Knead the dough for approximately 5-7 minutes. The kneading process is essential for developing the gluten, which gives naan its signature elasticity and chewiness. You'll know it's ready when the dough becomes smooth, soft, and elastic to the touch. Avoid adding too much extra flour during kneading, as this can make your naan tough.
Step 4: First Rise
- Lightly grease a clean bowl with a little oil. Place the kneaded dough into the bowl, turning it once to coat all sides.
- Cover the bowl with a damp cloth or plastic wrap.
- Let the dough rise in a warm place for about 1 to 1.5 hours, or until it has doubled in size. A warm oven (turned off, with just the light on) or a sunny spot on your counter works perfectly. Patience here will be rewarded with fluffier naan!
Step 5: Shape and Cook the Naan
- Once risen, gently punch down the dough to release the air.
- Turn the dough out onto a lightly floured surface and divide it into 6-8 equal pieces. Roll each piece into a smooth ball.
- Heat a cast-iron skillet, heavy-bottomed pan, or griddle over medium-high heat until very hot. (Alternatively, preheat your oven to its highest setting with a pizza stone or baking sheet inside).
- On a lightly floured surface, take one dough ball and roll it out into an oval or teardrop shape, about ¼ inch thick. Don't worry if they're not perfectly uniform – rustic charm is part of the fun!
- Carefully place one rolled naan onto the hot pan. Cook for 1-2 minutes until large bubbles appear on the surface and the underside is golden brown with some charred spots.
- Flip the naan and cook for another 1-2 minutes until the other side is also golden and cooked through.
- Transfer the cooked naan to a plate and cover it with a clean cloth to keep warm while you cook the remaining pieces.
Step 6: The Garlic Butter Finish
- While the naan is still warm, melt the remaining butter in a small bowl. Stir in the finely minced fresh garlic and chopped cilantro or parsley.
- Brush a generous amount of this aromatic garlic butter mixture over each warm piece of naan. This step is crucial for that classic garlic naan flavor and glistening finish.
For more detailed step-by-step instructions focusing on the soft, chewy, and buttery aspects, be sure to check out our guide on Soft, Chewy, & Buttery Garlic Naan Bread Recipe for Beginners.
Tips for Naan Perfection & Creative Variations
Achieving the perfect homemade garlic naan bread is within your reach with a few extra tips:- Don't Overcook: Naan cooks quickly! Overcooking will make it dry and tough instead of soft and chewy. Keep an eye on those bubbles and golden spots.
- Hot Pan is Key: A very hot pan or griddle is essential for that rapid puffing and signature char. If your pan isn't hot enough, the naan will cook slowly and become dense.
- Storing Leftovers: While best enjoyed fresh, leftover naan can be stored in an airtight container at room temperature for up to 2 days or frozen for up to 2 months. Reheat gently in a warm oven or microwave.
- Flavor Variations: Feel free to experiment! Add finely chopped green chilies to the garlic butter for a spicy kick, sprinkle with kalonji (nigella seeds) before cooking, or even stuff a little grated cheese inside the dough before rolling for a delicious cheese naan.
- Serving Suggestions: Beyond curries like Butter Chicken, naan is excellent with dips like hummus or baba ghanoush, as a base for quick pizzas, alongside grilled meats, or simply torn and dipped into olive oil.
